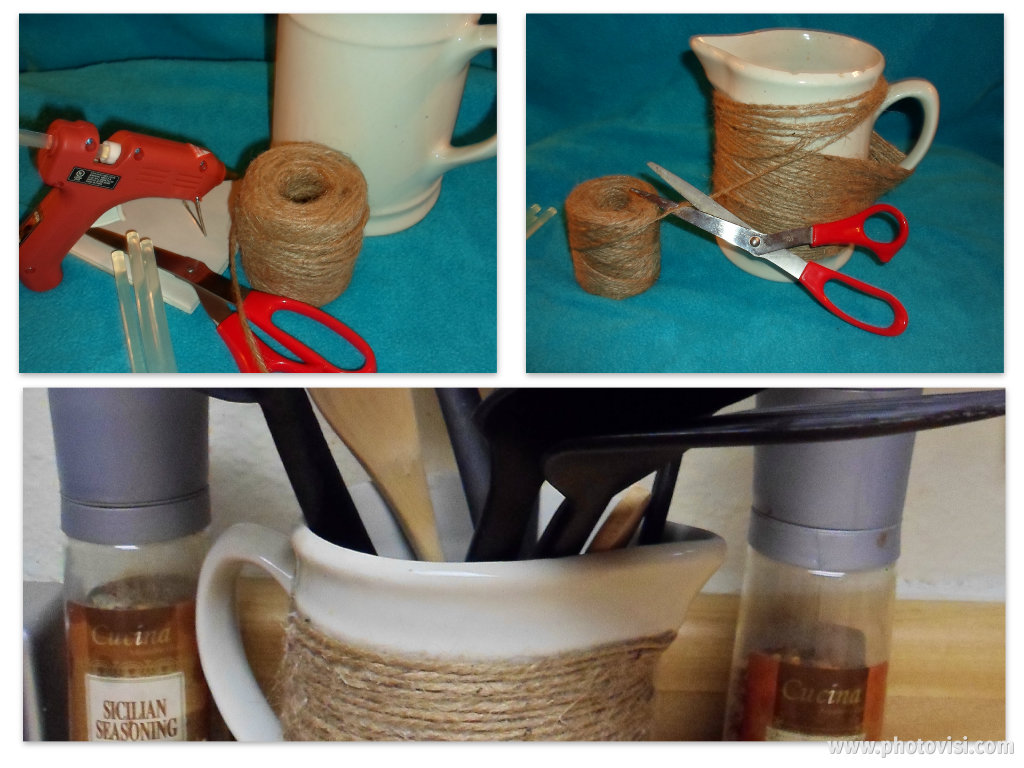
So you've probably been seeing all kinds of thing wrapped in twine or rope lately, I have and since I like the country, chabby chic look I figured I'd give it a go. I found this old milk pitcher at an estate sale over a year ago for $1 it has a few chips in the top which I think gives it character, and the twine came from the Dollar Tree. I have seen other crafters use elmers glue but, I was worried about the twine slipping before the glue had time to dry so I opted for the hot glue much faster drying time!
What you'll need:
*this is a cute finished project but wrapping twine around a pitcher is very redundant and well kinda boring, I put on a tv show while I worked on mine.
What you'll need:
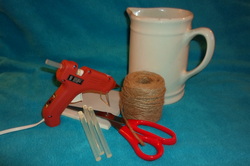
- Twine, or thin rope of your choice
- A pitcher or canister of your choosing. (I love garage sales, thrift shops for diy projects)
- Your hot glue gun, and glue
- Scissors
- A little patience*
*this is a cute finished project but wrapping twine around a pitcher is very redundant and well kinda boring, I put on a tv show while I worked on mine.
1. Plug in your hot glue gun and while that warms up lets get started. Because my chosen piece had a handle working with the whole roll of twine was going to be tricky, so I wrapped my pitcher with enough twine to be sure the area I wanted coverd would be. As you can see my pitcher has a great pre-measured border for me, and leaving the handle uncoverd will allow for more of the white to show through. *Snip* Cut your Twine, un-ravel, and let's put this bad boy together.
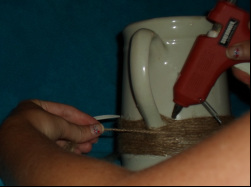
2. Now I chose to to start wrapping the twine below the handle this way if I had trouble hiding the end piece no one would really notice it anyways. For the fisrt I hot glued all around the pitcher pressing the twine in place as I went making sure that this row was nice and secure. To do that on every row would take hours so for the mid section I just glued it at quarter turns. Meaning I put a dap of glue pressed the twine in place turned the pitcher a a little bit and did another dab of glue. around the handle is where I put the most glue I wanted to be sure that the twine stay in place for as long as possible. For the top row I made sure it was also very secure by completly glueing this row down as well.
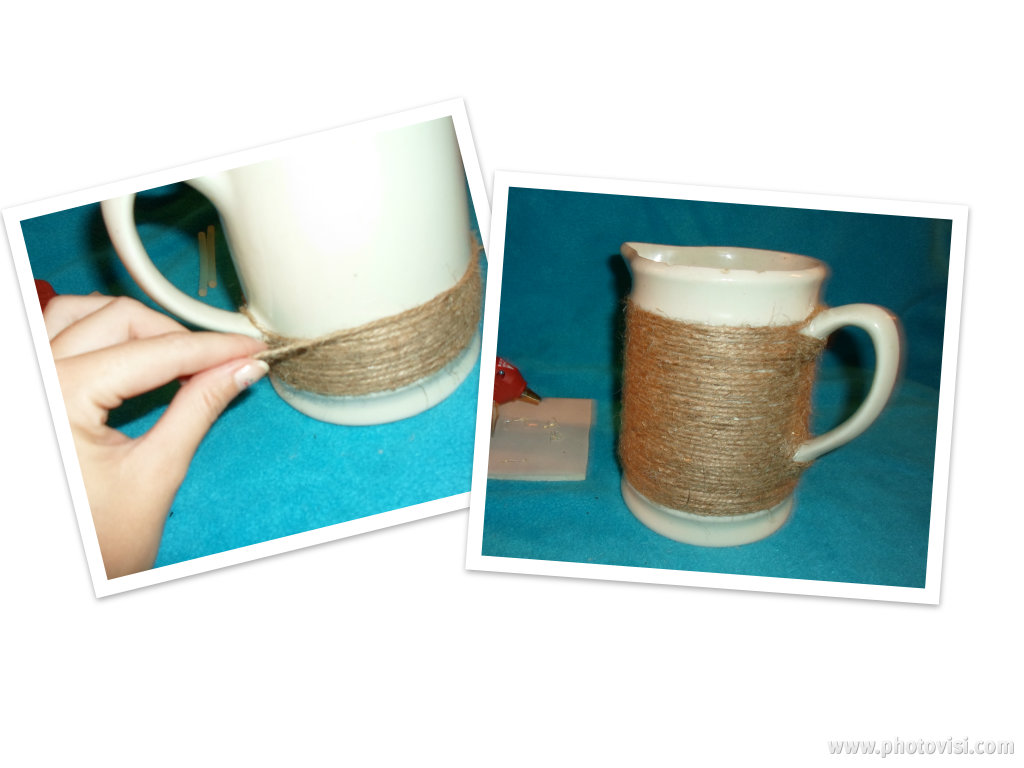
A lot of wrapping and glueing, and an episode of Supernatural later... Ta Da... you have an all new untesil crock! I'm not too happy about the fly aways so I'm trying to decide what to do about those. I'm thinking mod podge just to help lay them down and give it a little more of a finished look. I'll keep you posted.
Thank you for coming by to check out my blog any feed back, comments, and requests are welcome, but please keep them PG this is an open site and I don't want people getting offended by rude language or inappropriate content. Thank you!
Thank you for coming by to check out my blog any feed back, comments, and requests are welcome, but please keep them PG this is an open site and I don't want people getting offended by rude language or inappropriate content. Thank you!

 RSS Feed